Window glazing is a traditional method used to seal and secure glass panes in wooden window frames. While glazing putty has been a go-to solution for many years, caulk has emerged as a convenient alternative for sealing windows effectively. Caulk offers several advantages over traditional glazing putty, including ease of application, flexibility, and durability. In this comprehensive guide, we will explore the step-by-step process of using caulk instead of window glazing, providing tips, techniques, and considerations to ensure a successful and long-lasting seal.
Understanding Caulk and Window Glazing:
Caulk is a flexible sealant commonly used in construction and home improvement projects to fill gaps and seal joints in various surfaces, including windows, doors, and trim. It is typically made from silicone, latex, or polyurethane and is available in a variety of formulations to suit different applications and substrates. Window glazing, on the other hand, refers to the process of sealing and securing glass panes in window frames using a putty-like material, such as linseed oil-based putty or modern synthetic alternatives.
Advantages of Using Caulk for Window Sealing:
- Ease of Application: Caulk can be applied quickly and easily using a caulking gun, allowing for fast and efficient sealing of windows without the need for specialized tools or skills.
- Flexibility: Caulk remains flexible after curing, allowing for natural expansion and contraction of window frames due to temperature changes and settling of the building structure.
- Durability: High-quality caulks offer excellent adhesion and weather resistance, providing long-lasting protection against moisture, air infiltration, and drafts.
- Paintability: Many types of caulk can be painted to match the color of window frames, providing a seamless and professional-looking finish.
- Versatility: Caulk can be used for a wide range of sealing and bonding applications, making it a versatile solution for various home improvement projects.
Preparation:
Before applying caulk to seal windows, it’s essential to prepare the surface properly to ensure optimal adhesion and performance. Start by cleaning the window frame and glass thoroughly to remove any dirt, dust, grease, or old glazing putty residue. Use a mild detergent and water solution or a solvent-based cleaner to clean the surface effectively. Allow the surface to dry completely before proceeding with caulking.
Choosing the Right Caulk:
Selecting the appropriate caulk for sealing windows is crucial for achieving a durable and effective seal. Consider the following factors when choosing caulk for window sealing:
- Type: Choose a caulk specifically designed for exterior window sealing, such as silicone, polyurethane, or advanced polymer caulks. These types of caulk offer superior weather resistance and durability compared to standard latex caulks.
- Compatibility: Ensure that the caulk is compatible with the materials used in your window frames, such as wood, vinyl, or metal. Check the manufacturer’s specifications and recommendations to verify compatibility.
- Performance: Look for caulk that offers excellent adhesion, flexibility, and weather resistance, as well as resistance to UV rays, mold, and mildew.
- Paintability: If you plan to paint the caulk after application, choose a paintable caulk that is compatible with the type of paint you intend to use.
Applying Caulk:
Once you have selected the appropriate caulk and prepared the window surface, follow these steps to apply caulk effectively:
- Load the Caulking Gun: Insert the tube of caulk into the caulking gun and cut off the tip of the nozzle at a 45-degree angle using a utility knife. Pierce the inner seal of the caulk tube with the built-in puncture tool or a nail.
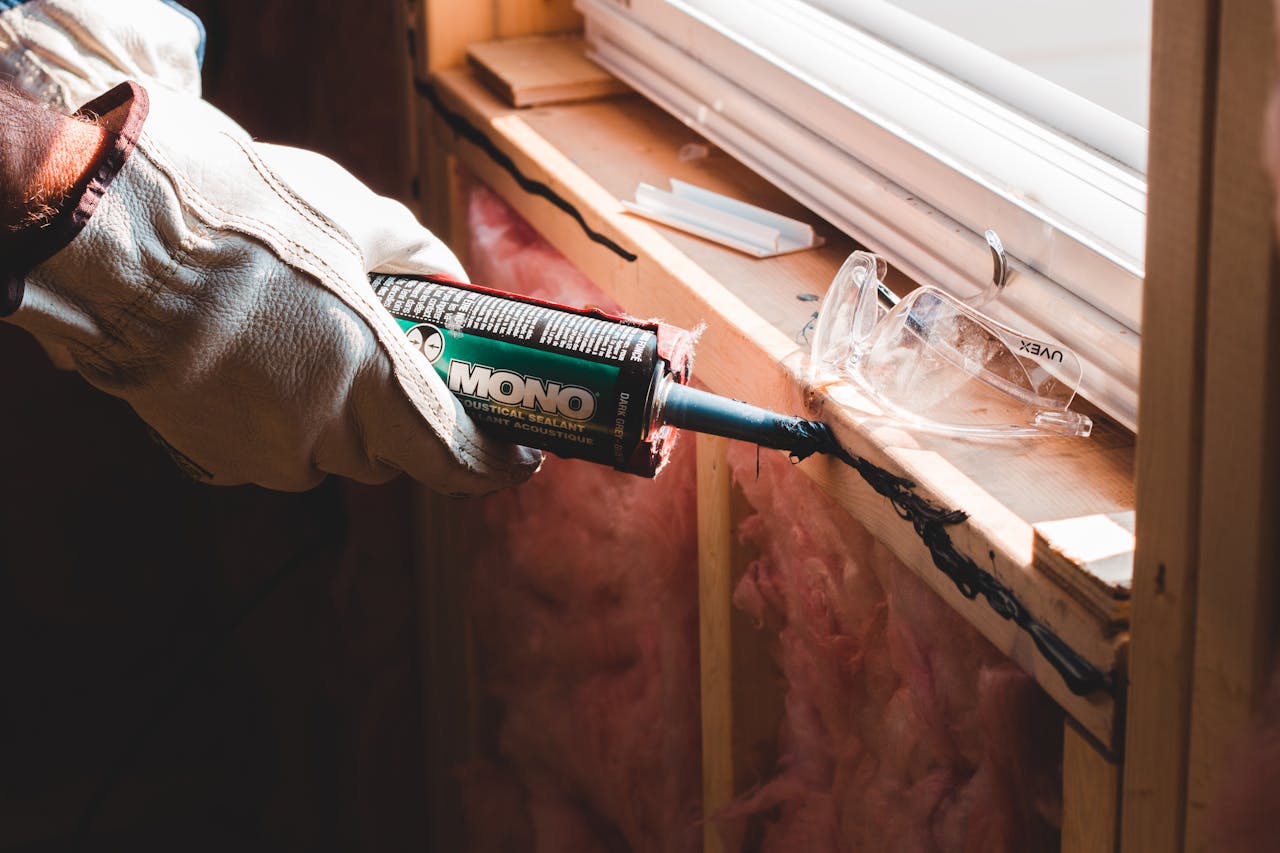
- Apply Caulk: Hold the caulking gun at a slight angle and apply a continuous bead of caulk along the joint between the window frame and glass, starting from one corner and working your way around the entire perimeter of the window. Apply steady pressure to the trigger of the caulking gun to control the flow of caulk.
- Smooth the Caulk: Use a wet finger or a caulking tool to smooth and shape the bead of caulk, ensuring that it fills the joint evenly and forms a tight seal. Wipe away any excess caulk with a damp cloth or sponge.
- Allow Caulk to Cure: Allow the caulk to cure according to the manufacturer’s instructions before exposing it to moisture or painting. Depending on the type of caulk used, curing times may vary from a few hours to several days.
- Paint (Optional): If desired, paint the caulked surface to match the color of the window frame or surrounding trim. Use a high-quality exterior paint that is compatible with the type of caulk used, and allow the caulk to cure fully before painting.
Maintenance and Care:
To ensure the long-term effectiveness of caulked window seals, perform regular maintenance and inspections to identify any signs of damage or deterioration. Check the caulked joints periodically for cracks, gaps, or separation, and reapply caulk as needed to maintain a watertight seal. Additionally, keep the window frames and surrounding areas clean and free of debris to prevent mold, mildew, and moisture buildup.
Conclusion:
Using caulk instead of window glazing offers a convenient and effective solution for sealing windows and protecting your home against moisture, drafts, and air infiltration. By following the steps outlined in this guide and choosing the right caulk for your specific application, you can achieve a durable and long-lasting seal that enhances the energy efficiency, comfort, and appearance of your home. Whether you’re sealing new windows or updating existing ones, caulking is a versatile and reliable method for maintaining a tight and secure seal around windows for years to come.