Sand topping mix is a versatile material commonly used for resurfacing concrete surfaces, creating overlays, and repairing damaged areas. Whether you’re renovating a driveway, patio, or sidewalk, understanding how to properly use sand topping mix is essential for achieving professional results. In this guide, we’ll walk you through the step-by-step process for effectively using sand topping mix for your concrete projects, ensuring a smooth and durable finish every time.
1. Gather the Necessary Tools and Materials
Before you begin using sand topping mix, gather the following tools and materials:
- Sand topping mix
- Wheelbarrow or mixing tub
- Trowel or float
- Water
- Broom or brush
- Concrete sealer (optional)
Having the right tools and materials on hand is essential for a successful sand topping mix application. A wheelbarrow or mixing tub provides a convenient workspace for mixing the material, while a trowel or float is necessary for spreading and smoothing the mix. Water is required for activating the mix and achieving the desired consistency, while a broom or brush is useful for finishing the surface texture. Optionally, concrete sealer can be applied to protect the finished surface from stains and weathering.
2. Prepare the Surface
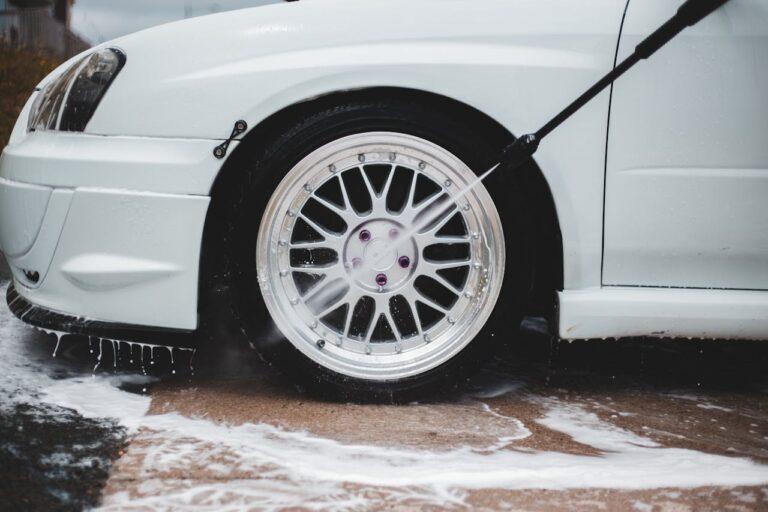
Before applying the sand topping mix, prepare the surface by cleaning it thoroughly and removing any debris, dirt, or loose material. Use a pressure washer or hose to rinse the surface and allow it to dry completely before proceeding.
Proper surface preparation is crucial for ensuring adhesion and durability of the sand topping mix. Remove any existing coatings, stains, or sealants from the surface, and repair any cracks or damaged areas as needed. Cleaning the surface thoroughly removes dirt, debris, and contaminants that could interfere with the bonding of the topping mix.
3. Mix the Sand Topping Mix
Follow the manufacturer’s instructions to mix the sand topping mix with water in the wheelbarrow or mixing tub. Use a shovel or hoe to combine the mix and water until you achieve a smooth, workable consistency similar to pancake batter.
Proper mixing of the sand topping mix is essential for achieving the desired strength and workability. Add water gradually to the dry mix, mixing thoroughly to ensure even distribution and avoid lumps or dry spots. The consistency of the mix should be similar to pancake batter, allowing it to flow easily and spread smoothly over the surface.
4. Apply the Sand Topping Mix
Using a trowel or float, spread the sand topping mix evenly over the prepared surface, working in small sections to ensure thorough coverage. Use smooth, sweeping motions to distribute the mix and achieve a uniform thickness of approximately 1/4 to 1/2 inch.
Applying the sand topping mix requires careful attention to detail and proper technique. Start at one end of the surface and work your way across, spreading the mix evenly with a trowel or float. Avoid spreading the mix too thin or too thick, as this can affect the strength and appearance of the finished surface.
5. Smooth and Finish the Surface
Once the sand topping mix is applied, use a trowel or float to smooth and level the surface, working from one end to the other in straight lines or circular motions. Continue working the mix until you achieve a smooth, uniform finish with no visible trowel marks or irregularities.
Smoothing and finishing the surface of the sand topping mix is the final step in the application process. Use a trowel or float to flatten any ridges or high spots and fill in any low areas, working the mix until you achieve a smooth and level surface. Pay attention to detail and take your time to ensure a professional-quality finish that enhances the appearance and durability of the surface.
6. Allow the Surface to Cure
After finishing the surface, allow the sand topping mix to cure according to the manufacturer’s instructions, typically for 24 to 48 hours. During this time, protect the surface from foot traffic, rain, and other disturbances that could affect the curing process.
Allowing the sand topping mix to cure properly is essential for achieving maximum strength and durability. Keep the surface moist by lightly misting it with water periodically, especially in hot or dry conditions. Avoid walking or placing heavy objects on the surface until it has fully cured to prevent damage or premature wear.
7. Optional: Apply Concrete Sealer
For added protection and longevity, consider applying a concrete sealer to the cured surface of the sand topping mix. Follow the manufacturer’s instructions for proper application and drying times, and allow the sealer to cure completely before resuming normal use of the surface.
Applying a concrete sealer can enhance the durability and appearance of the finished surface, providing protection against stains, water damage, and UV exposure. Choose a sealer that is compatible with the sand topping mix and follow the manufacturer’s instructions for proper application. Allow the sealer to dry completely before allowing foot traffic or other use of the surface.
Conclusion
Using sand topping mix for concrete projects offers a versatile and effective solution for resurfacing, overlaying, and repairing surfaces. By following the step-by-step instructions outlined in this guide, you can achieve professional-quality results and enjoy a smooth and durable finish for your concrete surfaces.


